Cricuit Design Space Puts Two Images On Seperate Mats
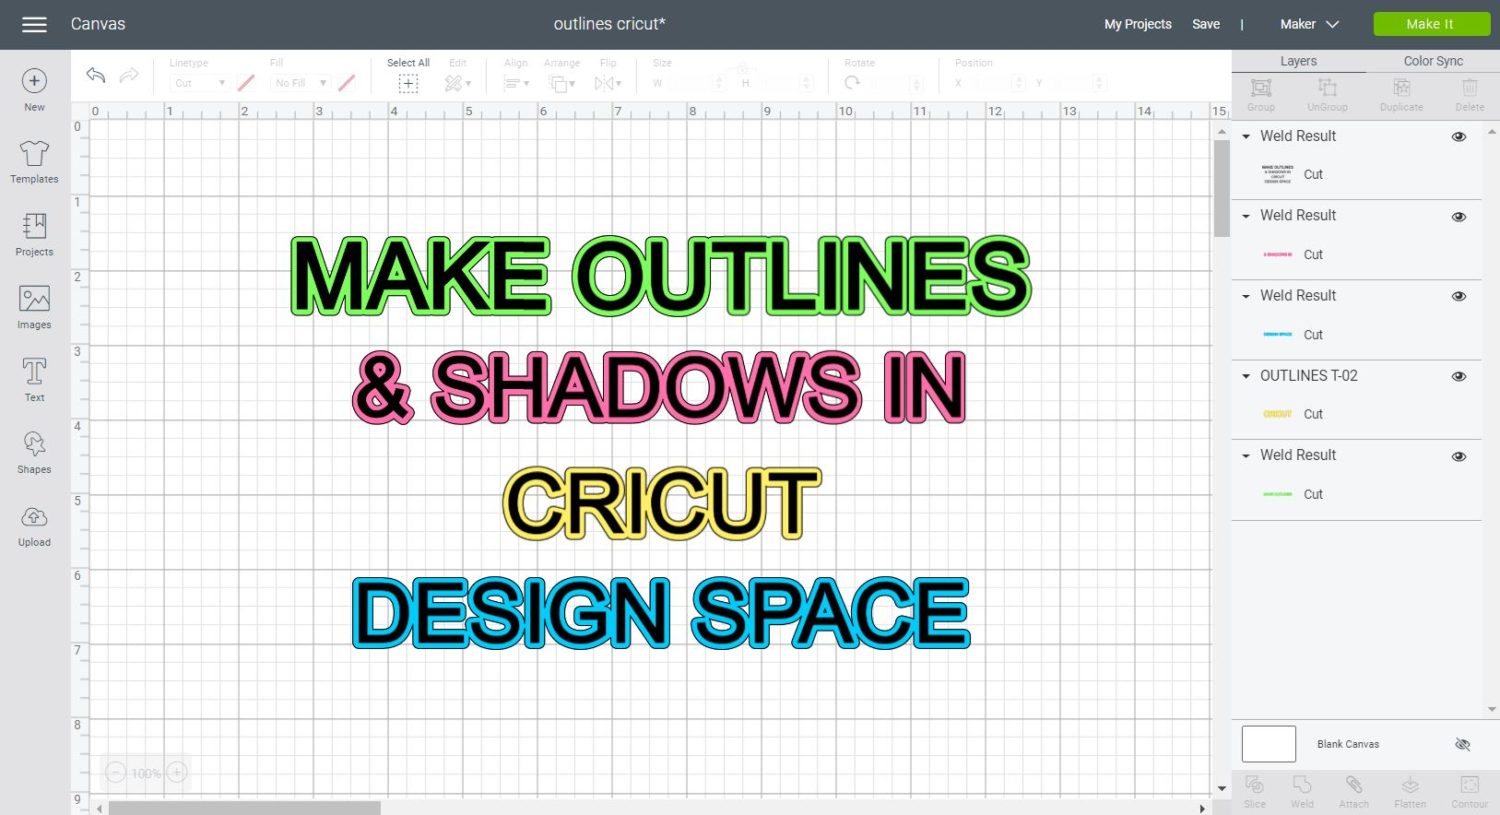
How To Make Outlines Shadows To Use In Cricut Design Space
Full Cricut Design Space Tutorial For Beginners 2020

Be A Cricut Pro In 3 Months Slice Weld Attach And Group Cricut

Which Cricut Design Space Command To Use When You Want To Cricut Design Cricut Tutorials Cricut
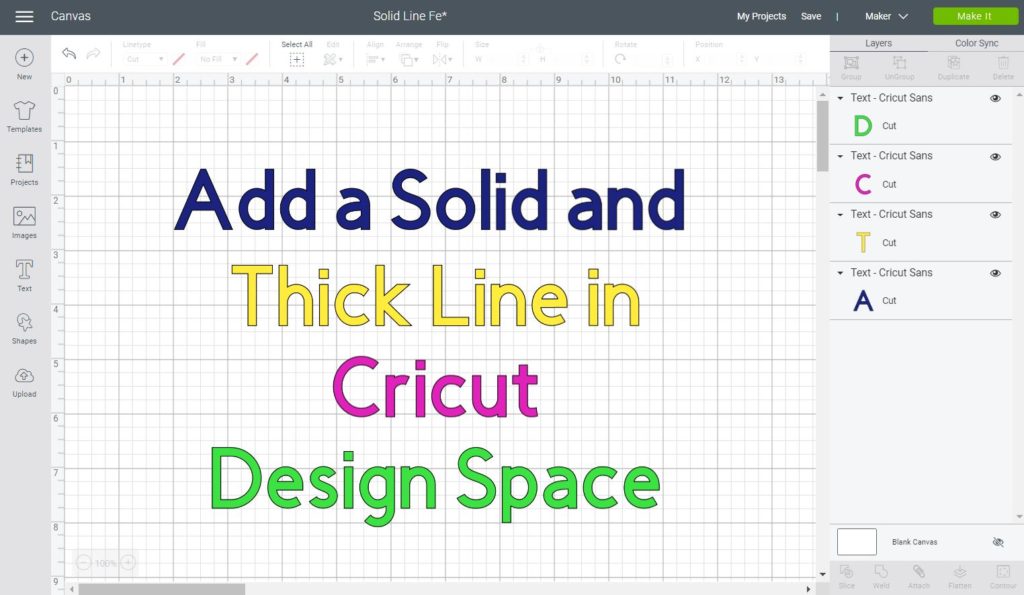
How To Add A Solid Line In Cricut Design Space Thin And Thick

Mirror Flip In Cricut Design Space Desktop App

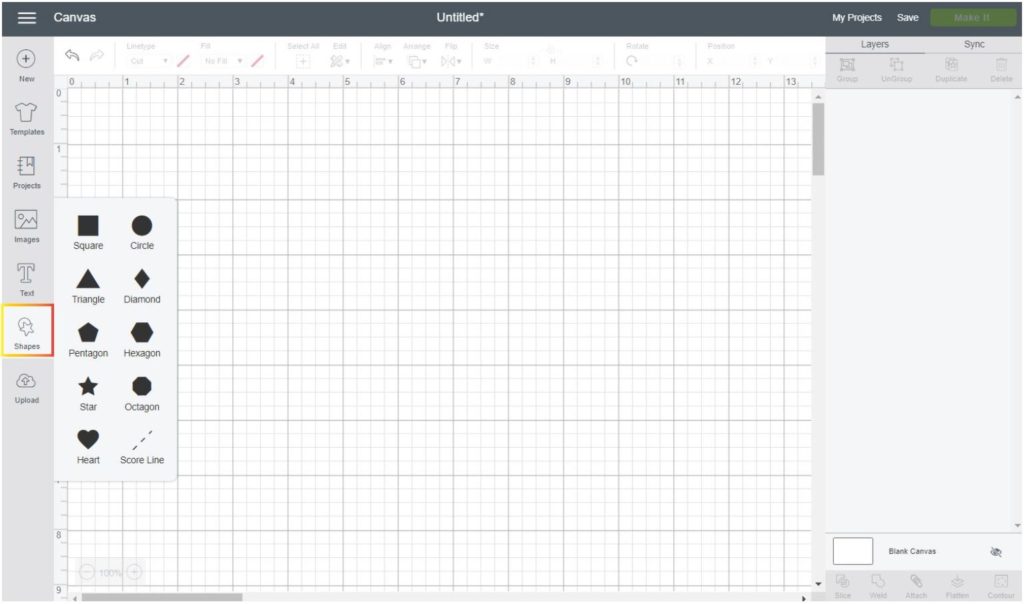
2 go to the upload icon.
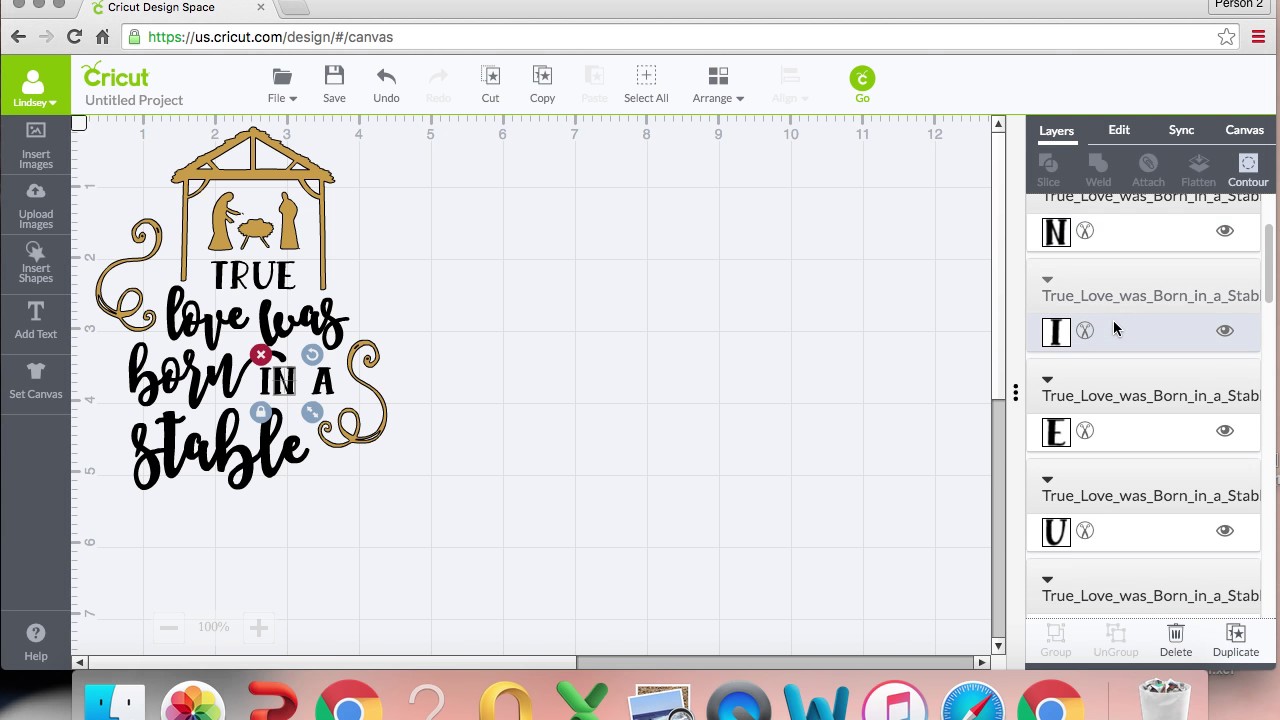
Cricuit design space puts two images on seperate mats. For my design i used the contour tool to separate my design into four separate words so that i could manually arrange them later. We are going to keep the two separate mats for this project because we are using two colors of window. How to cut all images on the same mat in cricut design space. The process takes a few minutes but it s definitely worth the extra time.
5 select your design. This will be fine most of the time but sometimes you want to be able to lock something in a specific position on a mat. Each word will stay together but design space will automatically position everything to save as much space as possible on the mat. My words are already welded into one image from using the contour tool.
Send your project to cut. 4 click on browse. However in other cases the automatic placement is not conducive to minimizing material waste or being able to use the most of your material area. That means that i have to do a little work if i want to cut them all on one sheet of cardstock.
Https bit ly 2h26r9n taking apart two different images and welding them together to make one project in cricut design space. Design space will automatically space your project onto two separate mats. 6 your design will now appear in the recently uploaded image section. While the design space software will auto populate your images onto the mats based on their color and orientation it may not be exactly where you want them to be.
It will appear in the left window. You can click an item on one mat and this will give you the option to move it to a different mat. Cricut design space will automatically place your design on the appropriate mat where it seems fit. Click on a new project.
In most cases this is perfect and we can move forward with our project. 3 click on upload image. 1 log into cricut design space. We used the lightgrip mat for this project.

3 Ways To Attach Writing To Images In Cricut Design Space 1 Simple Text Attachment To Single Layer 2 How To Cricut Cricut Explore Tutorials Cricut Design
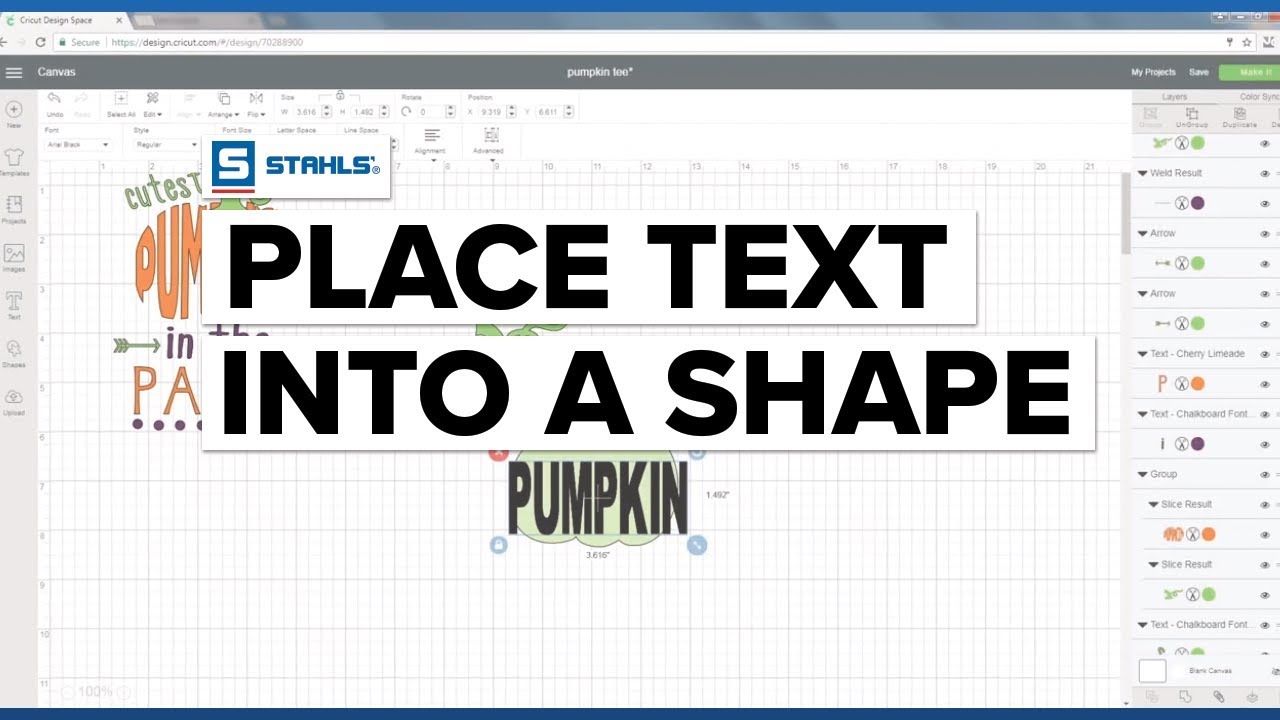
How To Place Text Into A Shape With Cricut Design Space Youtube

Weld Attach Group And Flatten What Is The Difference Cricut

How To Do Font With Hearts In It Cricut Fonts Cricut Design I Love Glitter Font
How To Line Up Layers Within Cricut Design Space Youtube
Edit Shapes In Cricut Design Space Cut Out Text Make Words Into Shapes

Pin On Cricut Explore
Save Open Edit Projects In Cricut Design Space Desktop And App
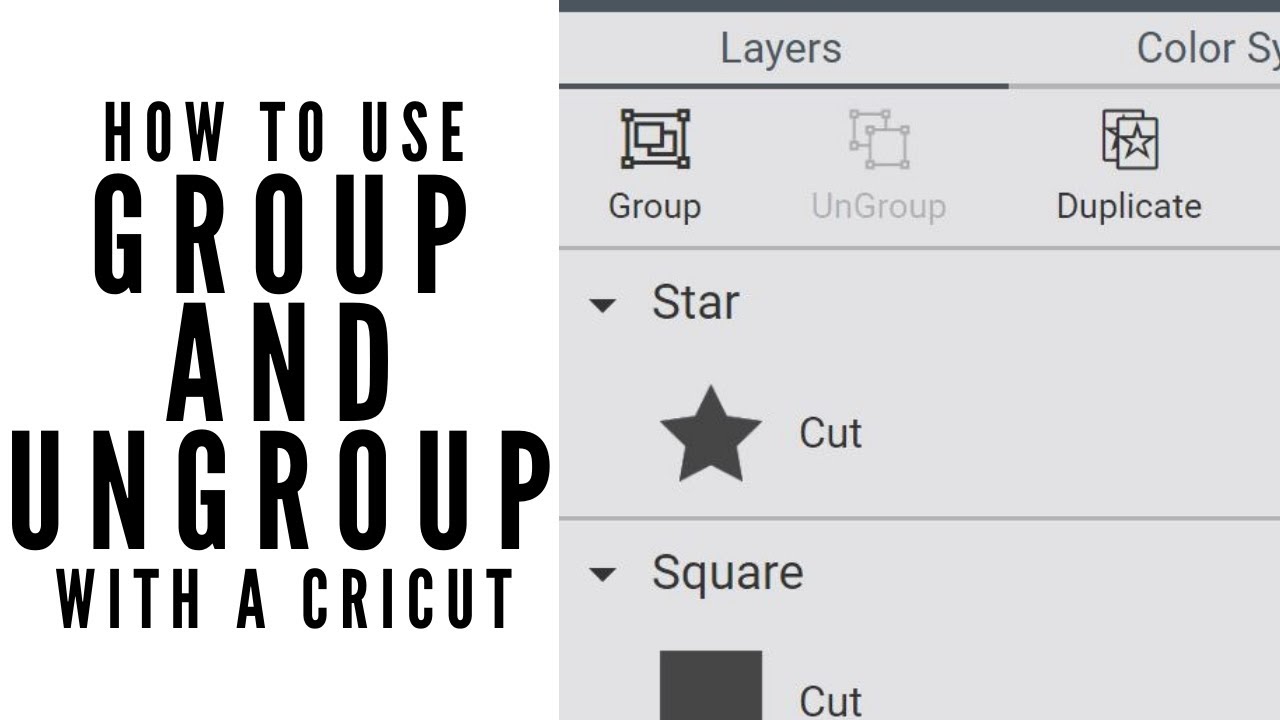
Group And Ungroup In Cricut Design Space Youtube

Cricut Saving An Image To Use Outside Of Design Space Tutorial Video Jpeg Jpg Png Youtube

Not Sure How Or Even Why You Might Want To To Use Slice In Cricut Design Space Here S Everything You Need To Know Cricut Design Studio Cricut Design Cricut

Pin On Cricut

Pin On Diy Divas Craft Queens Other Inspirers
